Installation and Impregnantion of Cementtiles for Outdoors
This guide is complementary to general knowledge of outdoor tile installation. The tile installer should therefore read these instructions before work begins. The client and/or end user may also benefit from being familiar with the installation process. At the end of this document, a cleaning guide is provided, which the user should follow when cleaning.
Installation and Care Guide for Handmade Outdoor Tiles
Please read this guide carefully, as we do not accept claims once the tiles have been installed and impregnated.
The surface of the paving tiles consists of marble and cement and is open-pored. Therefore, the tiles must be treated before use to prevent staining and discoloration.
Impregnation can be carried out using Fila MP90 Eco Xtreme or alternatively a tile impregnator from Borup. The appearance of the tiles will not change, but the wear surface will be sealed against the penetration of water and dirt.
It is very important that the tiles are completely clean and dry before impregnation.
Villa paving tiles must always be impregnated before use.
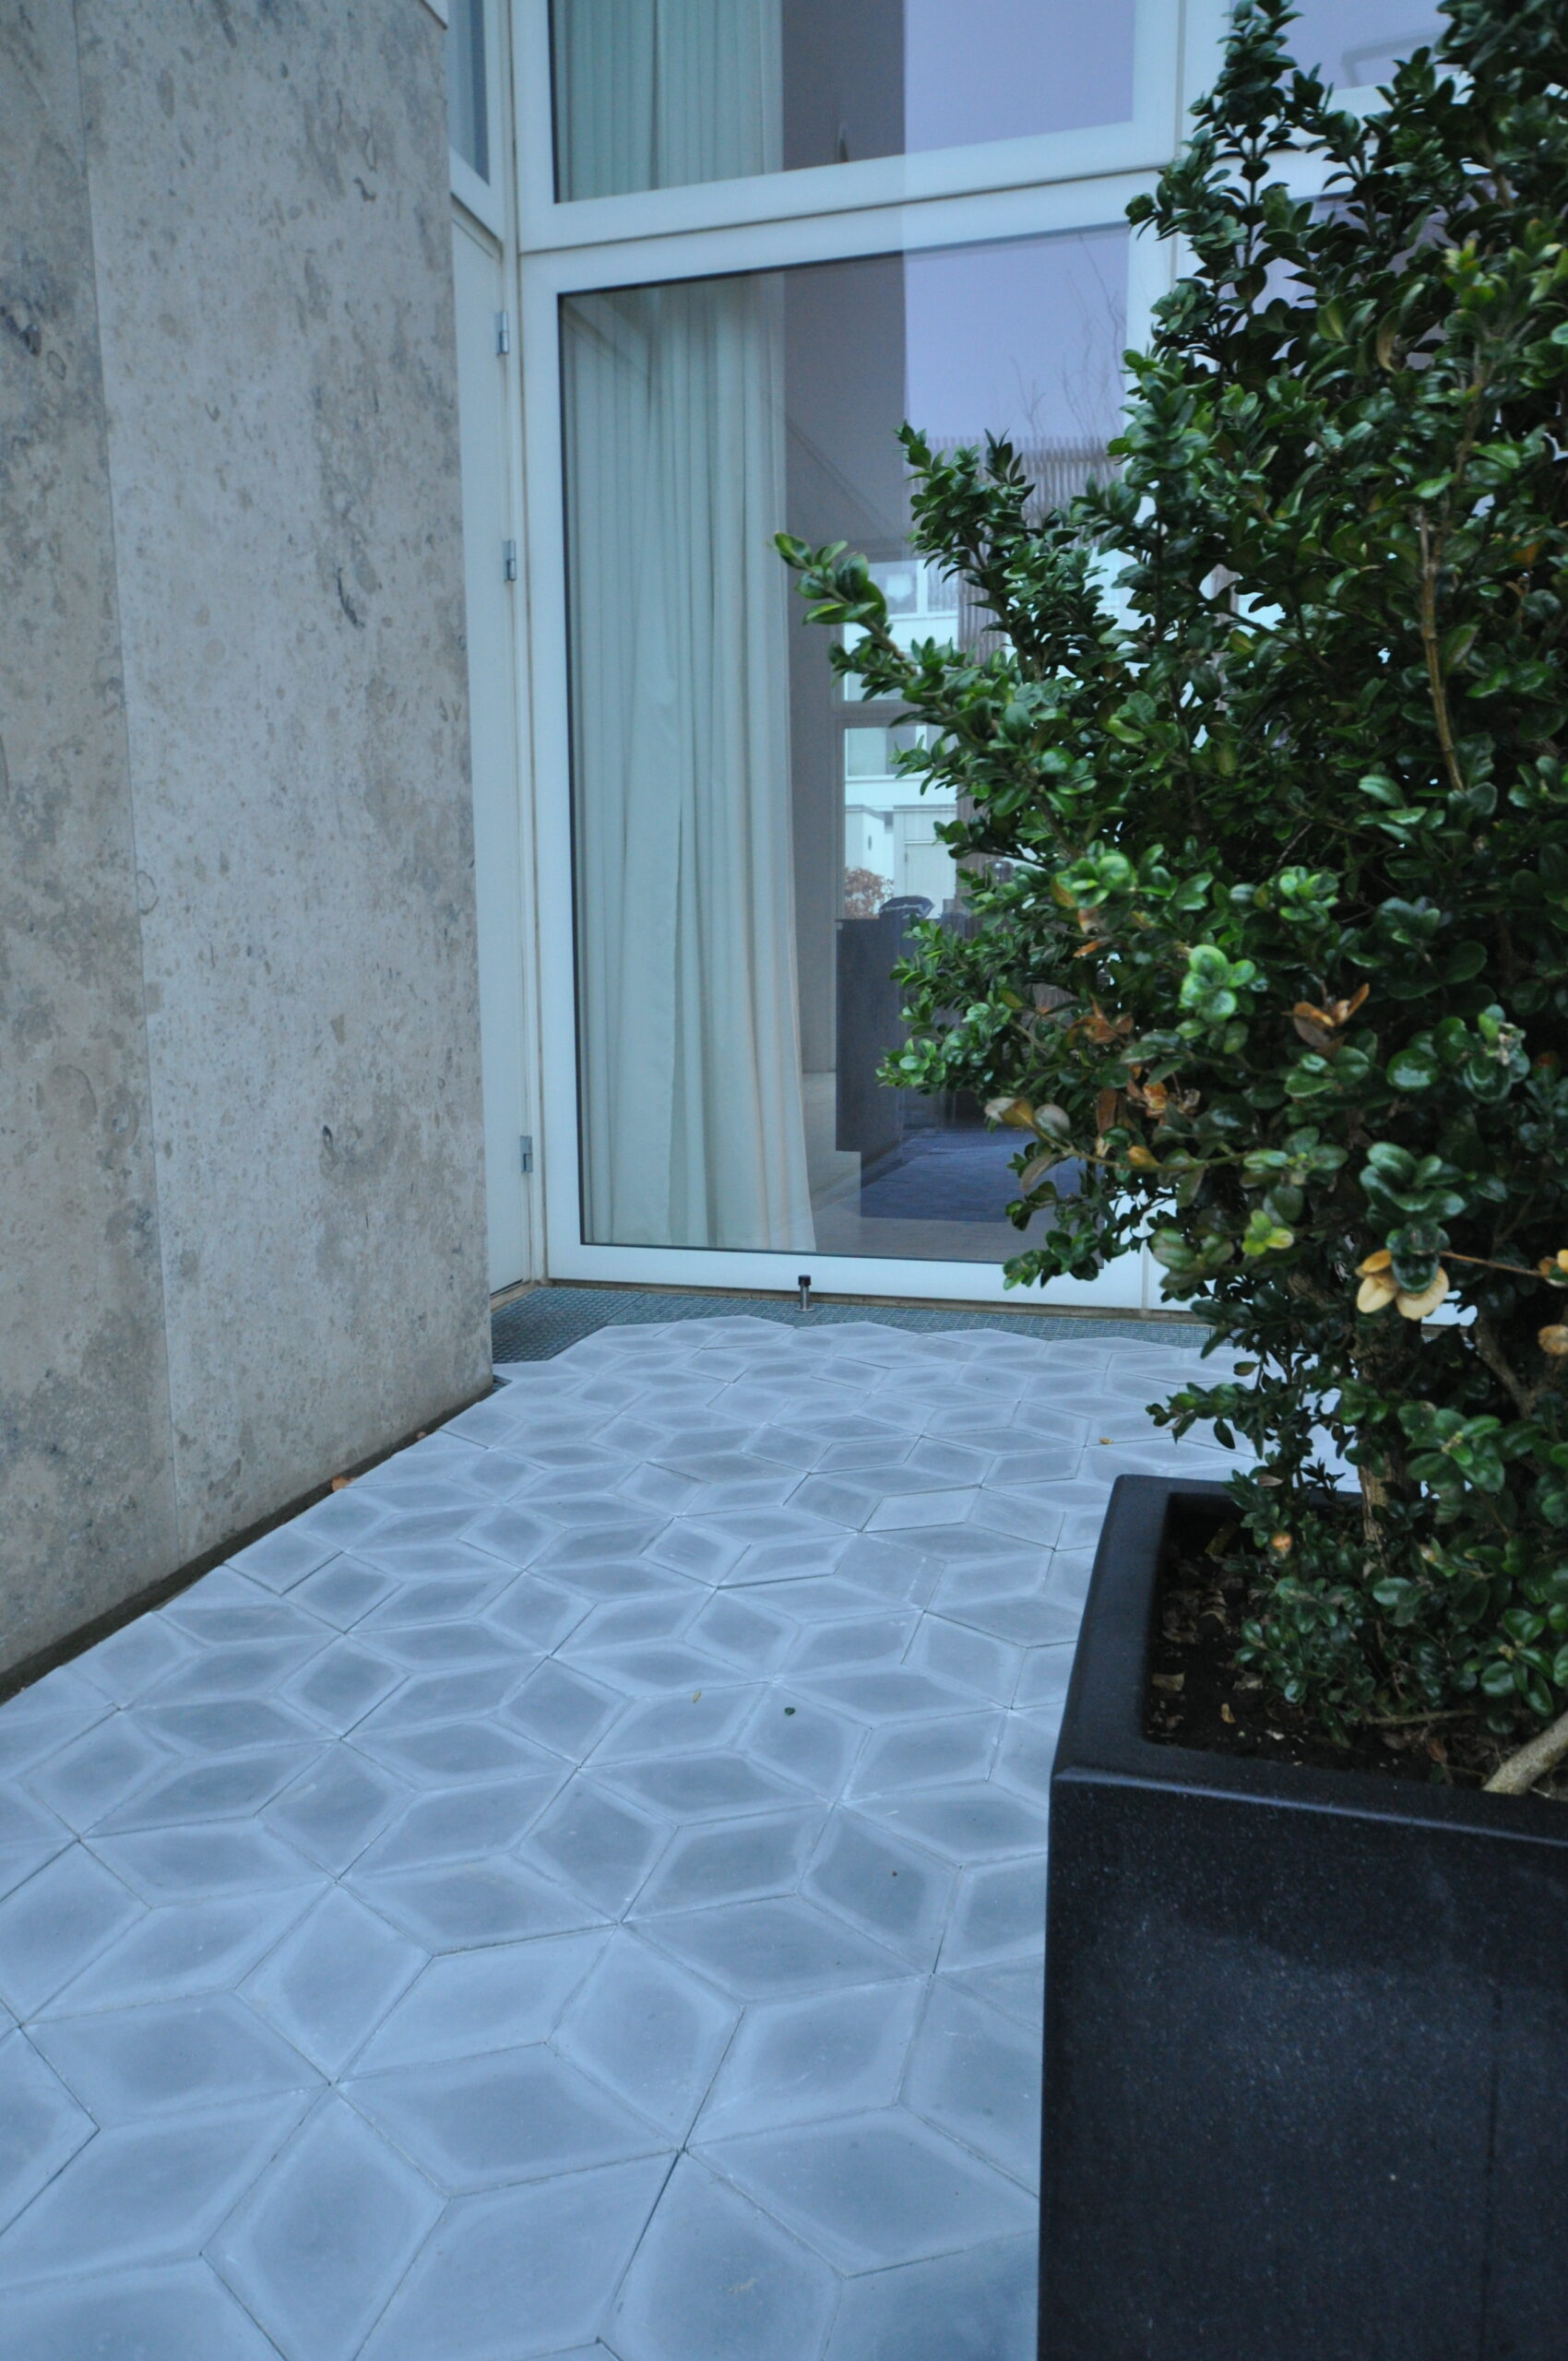
The handmade paving tiles can be laid in crushed stone and sand in the same way as other paving stones, or installed on balconies or roof terraces using battens or tile supports. Alternatively, the tiles can be bonded in the same way as indoor tiles.
Please note that colours will fade over time when used outdoors, and that normal environmental exposure may cause the tiles to become rougher over time. This can be counteracted by scrubbing the tiles with polishing pads. Some colours fade more than others. Please consult Villa Tiles for advice on which colours retain their appearance best over time.
The tiles are handmade using traditional craftsmanship techniques, and it should be expected that not all tiles have exactly the same height. Minor differences are evened out in the levelling layer or, when using tile supports, with additional levelling rings.
Unique, Handmade Tiles
The tiles are handmade, and each tile is therefore unique. Minor “irregularities” on the tile surface and edges should be expected. Once installed, these imperfections contribute to an artisanal, handcrafted look for terraces and balconies. Do not worry about small imperfections – that is precisely the point.
Over time, outdoor paving tiles will fade due to UV exposure. Please note that green and blue colours fade faster than yellow and red tones.
The tiles have a pigmented wear layer of approximately 4 mm. To restore colour intensity, the faded surface can be lightly sanded, revealing fresh material beneath. If the tiles are sanded, they must be re-impregnated afterwards.
Installation
Terraces and Pathways
Handmade paving tiles are laid on terraces in a base of crushed stone, similar to other paving stones. On top of the crushed stone, a loose levelling/screed layer is applied so that the height of each individual tile can be adjusted.
The tiles must be laid tightly together within a frame so that they cannot shift during use. Alternatively, metal edging can be used to contain the tiled area.
Tiles must be laid by hand. A plate compactor or similar machinery must not be used.
Balconies and Roof Terraces
On balconies, the tiles can be bonded onto battens using a flexible, frost-resistant adhesive, ensuring an air gap beneath the tiles where excess water can drain away. Alternatively, the tiles can be laid with a retaining edge along the outer perimeter of the balcony to prevent movement.
To protect against frost damage, the tiles should not be grouted, allowing water to drain freely between them. Tiles should be laid tightly together on both terraces and balconies so that they support one another.
Alternatively, on cast and level surfaces, tile supports (e.g. from Pavepad) can be used for quick and easy installation. In this case, the tiles must also be restrained with an edging along the outer edge of the balcony or roof terrace.
Installation of Outdoor Tiles Bonded to a Solid Substrate
Tiles are installed in the same way as equivalent indoor tiles. However, special outdoor conditions apply, and water must not be able to penetrate the adhesive layer or the layer between the tile and the substrate. Frost damage may occur regardless of tile strength if the surface and grout are not 100% watertight.
Lay tiles with a 1–3 mm grout joint. Mix tiles from different boxes during installation. Use a generous amount of tile adhesive to compensate for possible height differences (the thicker the tile, the greater the potential variation due to the handmade process).
Vacuum and wash the tiles with clean water without adding detergent. Use a mop and scrubbing sponge if necessary. Allow the tiles to dry completely. Check that the appearance is as desired and that all dust and debris have been removed.
Impregnate the tiles with Fila MP90 Eco Xtreme. Use a foam roller (preferably on a pole) to ensure an even coat. Follow the product instructions and allow the impregnation to dry. MP90 Eco Xtreme makes grout residue removal easier and simultaneously provides a base impregnation of the tiles.
Grout the tiles using a yoghurt-thin grout consistency. Only grout small areas at a time. The grout colour should be selected based on the lightest tone in the tile (for contrasting choices, consult Villa Tiles). Thoroughly and continuously remove excess grout.
Vacuum and wash the tiles again with clean water without detergent. Allow the tiles to dry.
Re-impregnate the tiles with Fila MP90 Eco Xtreme using a foam roller on a pole. Repeat the impregnation until the surface is fully saturated and no longer absorbs product (this may require up to 10 applications). For the first layers, apply “wet on wet” with only a short waiting time between coats. The goal is to allow the surface to absorb as much impregnation liquid as possible. Ensure that the grout joints are also thoroughly impregnated; use a brush if necessary.
Follow the product instructions and allow the impregnation to dry fully.
Impregnation of Surfaces Laid in Crushed Stone or on Tile Supports
Please ensure that the terrace floor or surface has the desired appearance before starting impregnation. Any dirt left on the tiles will be permanently sealed into the surface if not removed beforehand. Also ensure that the tiles are 100% dry before final impregnation.
We recommend Fila MP90 Eco Xtreme or alternatively products from Borup or Moeller (S234).
Follow the product instructions and apply until the surface can no longer absorb more product. We recommend using a foam paint roller (optionally on a pole) to impregnate terrace surfaces once the tiles are installed. Expect that multiple applications may be required until the tile surface is fully saturated.
Cleaning of Outdoor Tile Floors
Outdoor tiled floors should be cleaned in the same way as indoor cement tile surfaces. Sweep the floor free of debris and wash with warm water mixed with a neutral detergent with a pH value above 6.5, such as a universal cleaner, terrazzo cleaner from Borup, or a heavy-duty cleaner for heavily soiled areas. For light cleaning, a mop can be used.
In case of algae growth, an algae remover may be used.